September 9, 2010

Falafel, as promised.

Falafel

I know it is only the second week of September, but it really feels like fall here. Some trees are showing more than just hints of red and yellow and I've mostly been keeping the windows closed in our apartment. I would have taken a couple more weeks of summer, but now that my mind has switched to autumn mode, I can't complain. One of the best things about this time of year, late summer or early fall, is that there is so much good fresh local food available and with temperatures that allow oven and stove use, there is lots of cooking to be done.

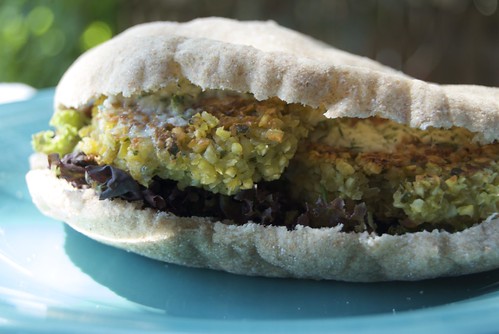
Recently I made falafel (to go inside my homemade pita bread). I often think of falafel as more of a winter food (maybe because in the summer I do less bread baking) but I realized that late summer is the ideal time to eat it. Falafel goes so well with fresh veggies which are decidedly less fresh and flavorful in the cold months. I was so happy to eat it with lettuce and tomatoes from the farmer's market. I even had fresh cucumbers and dill to make a simple tzaziki sauce to put on top.

Falafel is really easy to make, it just takes time to soak the beans. It is often deep fried, but I make little patties and pan fry them in olive oil. Its full of protein, good flavor, and goes so well with garden or market fresh veggies.

Falafel
Adapted from How to Cook Everything Vegetarian by Mark Bittman
The chick peas (garbanzo beans) need to be soaked for at least 6-8 hours before you make this recipe.

1 3/4 cups dried chickpeas
2 cloves garlic, peeled and crushed
1 small onion, quartered
1 tablespoon ground cumin
A pinch of cayenne, or to taste
1 cup chopped fresh cilantro (or parsely if you don't like cilantro)
1 teaspoon salt
1/2 teaspoon freshly ground pepper (or to taste)
1 tablespoon lemon juice
Oil for frying (I use olive oil)

Put the chickpeas in a bowl and cover with water by 2 or 3 inches. Let soak for at least 6 hours or up to 24 (check occasionally to make sure they are still covered with water and have not absorbed it all).

Drain the chickpeas and put them in the food processor with all the other ingredients except the oil. Pulse until the mixture is very finely chopped but not quite smooth. Taste and adjust seasonings. 

Heat a deep skillet over medium-high heat. Add enough oil to coat the bottom of the pan. Form the chickpea mixture into little patties, about 1 inch thick and 2 1/2 inches across. Place patties into the hot pan, as many as will fit without touching. Cook for 2 or 3 minutes until browned, then flip and cook on the other side. Continue cooking patties until all the chickpea mixture is used. Serve 2-3 patties on pita bread with fresh greens, chopped tomatoes, fresh salsa, cucumbers or tzatziki (see recipe below). If you have left overs, the falafel will keep, covered, in the fridge for 3 or 4 days.

Serves 6 

Tzaziki Sauce

1 cup plain yogurt
1 cup chopped cucumbers
1 tablespoon chopped fresh dill
1 tablespoon lemon juice
1 tablespoon olive oil

Puree all ingredients in a blender or food processor until smooth.

September 7, 2010

Pita Bread

DSC_0057

The autumn after I graduated from college I spent two months living in Oregon, a little bit south of Eugene. I lived in a tent in the woods, a few hundred feet from Aprovecho Research Center. I often think of these two months as a magical time in my life. Have you ever had the experience of meeting a group of people and having them come together, get along, and interact in a way that could never have been planned but that couldn't be much more perfect?

My experience that fall was quite unique. Spending my days with friends I had just met, planting seeds in a warm garden bed, milking goats, waking up under tall trees and drinking peppermint tea on cool mornings, gradually warmed by the sun. We made our own rocket stoves, chopped and hauled trees in sustainable forestry, saved so many seeds, felted hats, and learned a bit of blacksmithing.  When were weren't cooking and eating huge meals, riding bicycles, or learning about permaculture, we took walks, escaped to Crater Lake, and lounged in hot springs.

During those two months as interns we got a taste of so many sustainable living skills and a view of a unique and flourishing community that had grown up around Aprovecho. We learned about baking sour dough and took turns baking bread weekly. The local baker, who also taught us blacksmithing, had a beautiful oven for transforming dough into perfectly baked loaves of sourdough. The first time I ever made pita bread, we each got a small ball of dough to flatten into a round disk. In the hot oven they puffed up into a pocket of hot air surrounded by perfectly cooked dough. No matter what kind it is, there's not much better than eating fresh warm bread.

Dough

Pita bread is especially delightful in the way that it puffs up into a pocket with very little work or effort on the part of the baker. The yeast and the heat take care of it for us. Around here this week, it really feels like fall. The weather is perfect for baking bread, watching the clouds and letting my mind wander to memories and feelings from autumns past.

I've made pita bread many times since my first experience, quite a few Septembers ago. Its a great bread to have around for lunches, easy to stuff with whatever fixings you like. In our continual challenge of figuring out what Ray should bring for lunch at work, I made a batch of pitas and a container of hummus for him to eat for a few days. Later this week I'll share a recipe for falafel which is a wonderful filling for pita bread.

Pita bread

Whole Wheat Pita Bread
Adapted from How to Cook Everything Vegetarian, The Bread Bible, and New Recipes from the Moosewood Restaurant. 

I am including measurements for the flours in ounces as well as cups. I think it is a much easier and of course more precise way to measure flours for bread, if you don't have a scale you can use the cup measures, but I recommend finding an inexpensive scale for measuring when baking. 

7.5 ounces (1 1/2 cups) whole wheat flour
7 ounces (1 1/2 cups) unbleached white flour
1/2 ounce (2 teaspoons) salt
2 teaspoons yeast (I use non-instant yeast, but instant yeast also works well)
1 ounce (2 tablespoons) olive oil
10.4 ounces (1 1/4 cups) water at room temperature

Measure all ingredients into a mixing bowl and combine, first stirring with a wooden spoon and then kneading with your hands.  When all the ingredients have come together in a shaggy lump, knead briefly, then let the dough sit for 5 minutes. 

Knead the dough for another five minutes, adding a little flour as needed to keep it from getting too sticky (add up to 1/4 cup of flour, but no more). After this kneading, the dough should be smooth and uniform and a little bit sticky.

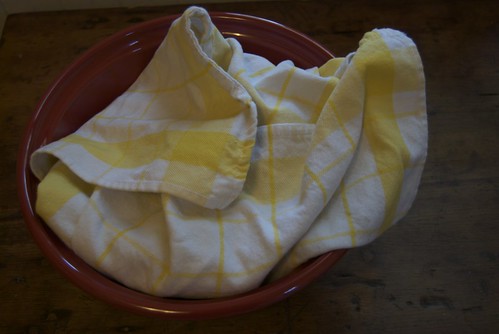
Place the dough in an oiled bowl and cover with a dish towel or plastic wrap. Let it sit someplace warm until the dough doubles in size. If you want to wait to make the pita bread, you can refrigerate the dough at this point for up to 24 hours, just make sure it is covered well so it doesn't dry out. 
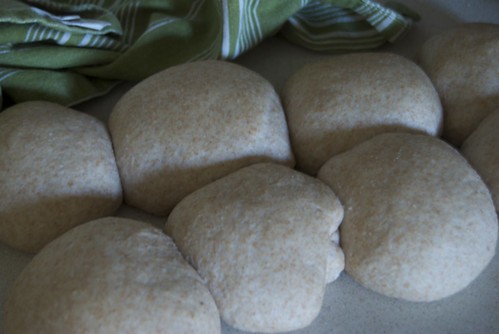
Once the dough has doubled in size (if refrigerating, remove and let sit for about an hour before continuing with this step), remove it from the bowl and divide into eight equal pieces (a knife or bench scraper is ideal for this, rather than tearing the dough). Gently roll each piece into a ball. Place the balls of dough about an inch apart on the counter, covered with a dish cloth and let them rise for about an hour.

During this hour, preheat the oven to 450 degrees. If you have a baking stone, place that in the oven when you preheat it. When the dough has again risen, not quite double in size, dust the counter with a little bit of flour. Shape each ball of dough into a flat circle, about six inches in diameter. You can carefully use a rolling pin or use your hands to gradually flatten them out. The pitas seem to puff up most successfully if the middle is equal to or slightly thicker than the sides of the flattened dough. Let this dough rest for about 20 minutes.

If using a baking stone, open the oven and place one or two dough circles on it. Try to work quickly so the heat doesn't escape from the oven. If you are using a sheet pan, place two to three (or however many fit without touching) on the pan and place it in the oven. Bake for 3-4 minutes, until the pita is puffed up, but not browned. Sometimes, they don't puff up. This could be because the oven is not hot enough. It might help to let the oven reheat for 5 minutes between batches. Even if they don't have a pocket inside, they are still really good with any of your favorite fixings.

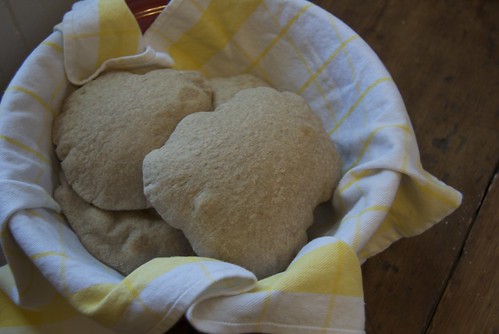
When you remove the pitas from the oven, place them in a clean dishtowel so they can stay warm and moist. If they are too browned or not covered they will dry out too quickly and be more difficult to stuff and eat. 

September 2, 2010

My Shop and a Giveaway!

market

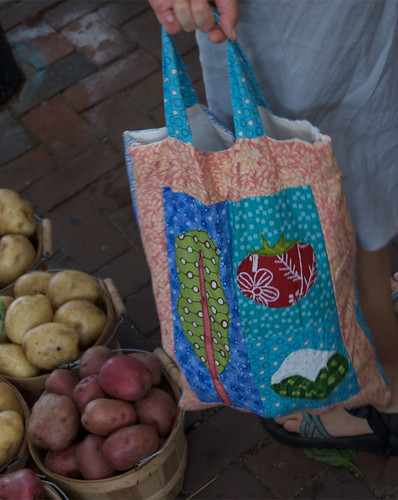
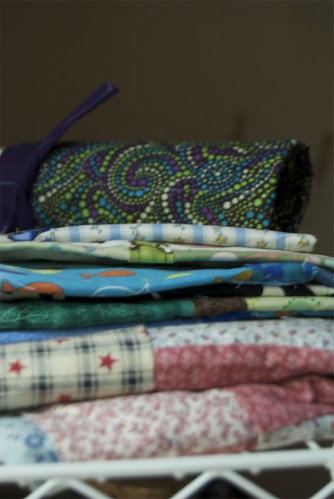
I am very excited to announce that I have opened a shop on Etsy.com.   I've been making things pretty much my whole life and have dabbled in selling them off and on. Finally I have reached a place in my creative process where the ideas are flowing and I am sewing as much as I can.

I know that we live in a world where there is so much stuff. So many things to buy that we don't need, that fill up our closets and collect dust in the corners of rooms. As someone who loves making things, I often think about whether or not I should add more to the ever growing piles of things that are made, manufactured and created. For me, creating is so important so I can't give that up. I also love sharing the creative process and encouraging others to make, rather than buy.  But, as someone who is trying out making and selling what I create, I also think its really important to spend and acquire mindfully.

caulimarket

Buying handmade is one way to choose carefully what you purchase, to know exactly where it came from and even who made it. When you choose quality handmade items you are investing in an artist or crafts person and, chances are, you will get something that you will want to use for years and years and it will last that long.

Of course this blog is not about selling things but my creative pursuits are important to me which is why I share them here.  I have added a link to my shop on the side bar in case you want to visit it.
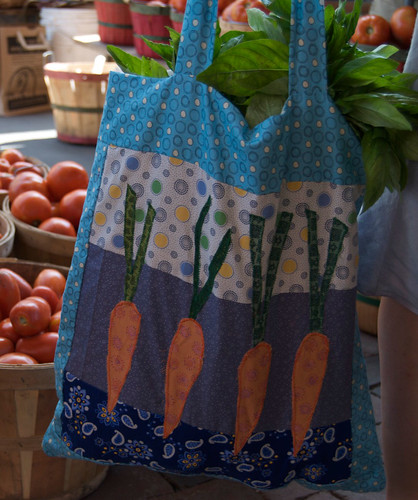
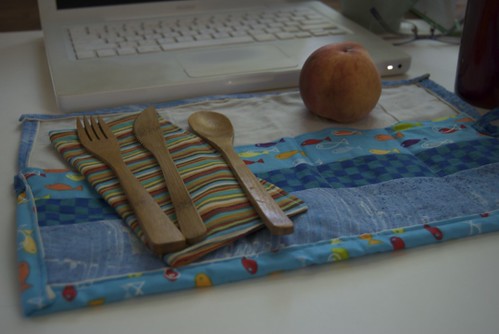
In honor of buying and selling carefully made, handcrafted items which can contribute to a more sustainable world, I am doing a give away. One lucky reader will win a fabulously useful Portable Placemat, which, along with the bags above are some of the items in my shop.


DSC_0188
DSC_0184

I created these because I got sick of seeing people grabbing plastic utensils with their take out day after day. This portable placemat includes a cloth napkin and sustainable bamboo fork, knife, and spoon. The placemat rolls up so you can stash it all in your desk, lunchbox, bag or wherever you will find it handy. To participate in this giveaway, please help me spread the word about my work. Tell someone else about my blog or my etsy shop and tell me about it in the comments. I'll randomly choose a winner on Friday September 10 (make sure there is some way I can get in touch with you if you win).

September 10: Michelle and David are the lucky winners! Thanks to everyone who commented, read the blog post and checked out my shop!

August 30, 2010

DSC_0060

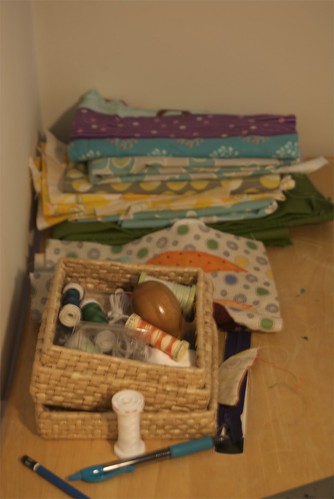
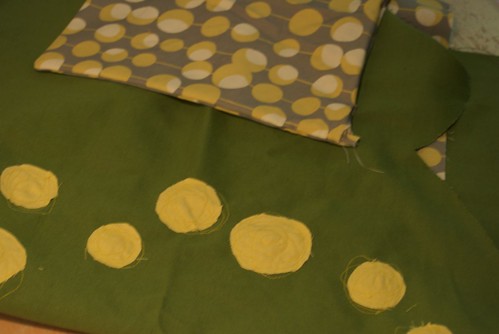
I've been busy sewing this month.

DSC_0040

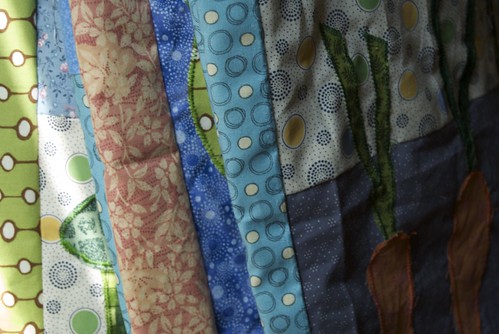
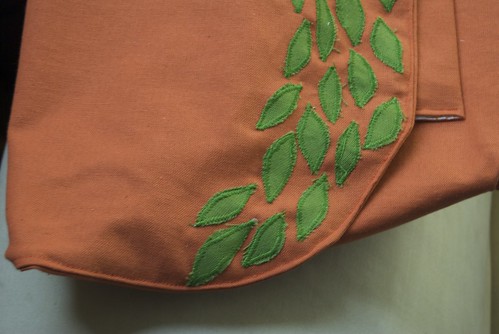
Making bags.


And working on new ideas.

DSC_0109

I'm getting ready to start a shop on Etsy.

DSC_0062

Seedling Design will be open for business later this week.

DSC_0108

Stay tuned.

August 27, 2010

Lately I've been thinking about: Radical Homemakers

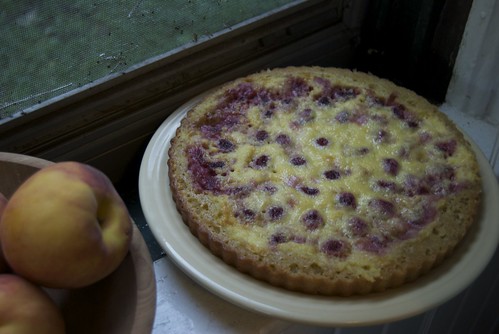
 Raspberry Marscapone Tart

So, I'm on this road to the farm. I don't write about it very much, instead I write about things that I make that are important to me and that I consider to be part of the journey along this road*.  I try not to forget that the journey is what makes up life and that all these little things along the way matter as much as when, maybe someday, I have a piece of land and a homestead.

Lately I have been asking myself this question: Why is it that in these modern times, when I don’t have to cook, sew, or plant a seed to survive or enjoy life, that is exactly what I want to do? For me, pursuing my dreams doesn’t necessarily involve a graduate degree or a high paying job.  Maybe this is a bad thing.  Doctors, lawyers and scientists do good things for many people that are often far reaching.  Money and power can be used to change the world for the better, though they are not used that way nearly enough. Just as I pondered my dreams, my passions, my hope of making the world better in some small way, I came across a book that helped to illuminate many of the thoughts I had and to distill them into a very compelling argument to keep following the path that I am on.

Radical Homemakers, by Shannon Hayes, is about "reclaiming domesticity from a consumer culture" and putting "family, community, social justice, and ecological integrity" first. Not only is this book a wealth of information about the history of homemakers and an inspiration to those who wish to pursue this lifestyle, but it finally gave me a word for what I want to be when I grow up.  Its been years since I have written a book review, but I wanted to share some of my thoughts on this book because I found it very important.

Even though I have never really focused on a career, instead following the path where it has led me, it's still kind of hard to say that being a homemaker is what I want to do. The term homemaker, though more neutral than housewife, still has strong connotation, perhaps as someone who has decided to give up his or her personal goals to stay home and take care of others. In her book Hayes addresses this and points out that choosing this homemade, low consumption life is going strongly against the grain of society. It can be difficult to give up the generally accepted markers of success.  Instead of an impressive salary, a prestigious title, or just validation and appreciation from a boss and coworkers, you choose to center your life around something different.  Although modern conveniences have given us the freedom to choose their career and to buy whatever we want or need, this makes it hard to escape corporate control and the need for our weekly paycheck. Letting go of consumer culture allows us to strengthen connections to family and community and, through this, find "personal fulfillment and cultural change."

Its not to say that everyone must quit their job and start growing their own food, its just that we could all shift our priorities to more deeply nurturing and supporting our families and friends, our communities, perhaps being more mindful of what we eat, what we buy, and how all of this affects society and the earth. Changing our priorities has the potential to change the world for the better. It reminds me of a line from Wendell Berry's beautiful poem, Manifesto: The Mad Farmer Liberation Front, "Put your faith in the two inches of humus that will build under the trees every thousand years." Its a shift from putting our faith in dollars and what we want to spend them on to making connections with the elements of day to day life. Its not about people giving up their careers, but about men and women deciding what really matters.


I recommend this book to everyone, especially this who feel a pull in this direction or anyone who wants to learn more about aspects of our consumption driven society.  It helped me to realize that the "career" I want is viable, that what I want to do doesn't have to be solely focused on generating income because it is possible to live on less, and that going in this direction will create positive change in the world. I sense that more and more people are focused on creating instead of consuming, that the local/homemade/homegrown food movement might not just be a trend, and radical homemaking is connected to all of this.  There is so much more in this fascinating book. I found it inspiring and I wanted to share.


*Like this raspberry creme fraiche tart that didn't turn out that well, but makes for a colorful beginning to this post.

-->

August 24, 2010

Tomatoes Transformed

Tomatoes

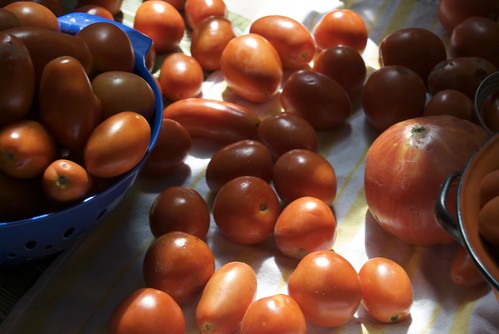
Food preservation is in full swing here. It started with pesto, then last week I picked up a big bag of pickling cukes (so crisp and cucumbery!) and started a batch of dill pickles that are now fermenting and later will be canned.  I also made two kinds of refrigerator pickles: dill and bread and butter.  Then, I snuck off to the market again on Sunday and came home with a big box of mostly roma tomatoes as well as peppers, onions, cilantro and garlic. Though I can't wait until I have space to grow these veggies myself, it seems like a steal to be able to procure a big pile of produce for about $20 make 13 pints of salsa. We shouldn't have to buy salsa all winter and there are still so many tomatoes left over.

Last year I discovered the miracle of slow roasted tomatoes. Simply sliced, the fruit basks in the warmth of the oven for a few hours and comes out relaxed, softly slumped and transformed into the epitome of deep tomato flavor.  If you want to preserve an abundance of tomatoes with very little work, all you need is a knife, an oven, and a freezer. Recipes for these sweet morsels are all over the place. If, like me, you are late to the slow roasted tomato party, don't wait any longer to come and join in the feast.  Bite into their juicy, still warm flesh after they come out of the oven, spread them on bread or over polenta and ricotta cheese, or freeze them and in the dead of winter make a crimson sauce for pasta or pizza.

Just make them, you can't go wrong.

Slow Roasted

Slow Roasted Tomatoes
You can use as many or as few tomatoes as you have available, but I prefer to fill the oven since I am going to have it on anyway. Most recipes for slow roasting tomatoes call for a 200 degree oven for 4 hours or more. I find that the oven at 300 degrees for 2 hours or so, does the trick very nicely.  Even in hot weather, this is totally worth it, but I am sure there will still be tomatoes in September and maybe your weather will have cooled off by then?

Ripe tomatoes, Roma work very well as they are less juicy, but other varieties work fine, too.
Olive oil
Garlic, minced
Salt and Pepper
Finely chopped herbs, such as marjoram, thyme or oregano, if desired.

Set the oven at 300 degrees. Wash the tomatoes, remove the core and any bad spots if there happen to be some.  Slice each tomato in half and place it cut side up on a baking sheet (I lined mine with foil for easy clean up of tomato juice leaks). They can be very close together. When the tray is full, brush the top of each tomato slice with olive oil, sprinkle about 2 cloves of minced garlic per tray, seasoning with salt and pepper and chopped herbs, if using.  Place each tray on an oven rack.  After about an hour, check the tomatoes, if they seem very dried out, brush a little more oil on each one. After another hour, check again. They are ready when they are soft, shriveled and shrunken to about 1/3 of their size. Keep them in fridge for use within the next week or, once cooled, freeze them in an airtight container. 


August 20, 2010

In the Mail

Writing Letters

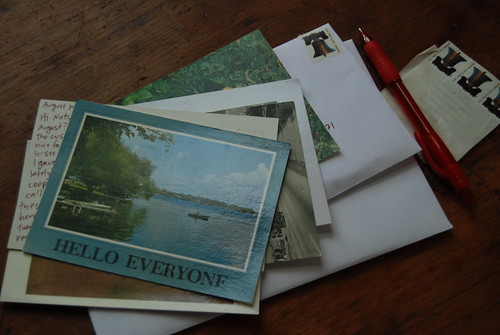
Its a lost art, people say. Communicating via pen and paper. I wonder if kids even pass notes in class any more, or if they just text back and forth. In my recent move, I found piles of letters that I have saved for years.  Random records of moments in my life, received from friends and family all over the country and the world.

I think my letter writing really started when I moved to a new state after sixth grade and wanted to keep in touch with my friends. I didn't have email until I was a senior in high school and during the years leading up to that I made a number of friends who lived several towns or counties away.  Of course we could have dialed each others' numbers, but I've always been more inclined to pen a letter to someone far away than to call them. Not that I don't like talking on the phone and catching up immediately, sharing laughs, and catching the cadence of someone's voice. At that time, though it was a good way to connect with and get to know people that I might not spend hours talking to on the phone.

Over the years I have kept in touch with friends far away, and some near, by writing. Letter writing is a chance to sit down, pause, and spend some time with someone who's there only in spirit.  When the letter reaches their mailbox and they rip open the envelope, they get to spend a few minutes with me, wherever they are.

Now that I live a few days' drive from most of my loved ones, I am reminding myself to take up letter writing again.  Even though there is email, texting, phone calls, and facebook (I draw the line at tweeting), I still value the exchange of writing.  Of course I appreciate the possibility instant gratification and connection. The ability to connect any time I want certainly has its merits and so does being able to buy a snack and eat it out of the plastic bag when you are hungry. But making it yourself and sitting down to savor it is so much better.

I realize that its a bit strange to be promoting letter writing on a blog but some of you may recall the series of slow posts I started last winter (I haven't forgotten about them, there are more to come!)  In honor of slowing down, why not write a letter? In these days of insta-communication, I think there is something special about going the slow route.