Showing posts with label raspberries. Show all posts

August 28, 2012

Raspberry Jam

raspberry jam

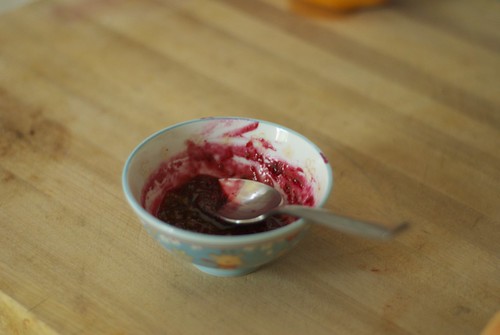
I've immersed myself in canning projects as much as possible in the past few weeks, ensuring that I will have plenty of summer stored away. I often put these jars in the pantry and cupboard with ideas for winter meals. Yesterday while canning raspberry jam I kept thinking about one of the simplest, least glamorous or photogenic foods that is undeniably delicious and satisfying every time.

I don't eat peanut butter and jelly sandwiches very often any more, but I ate them for lunch nearly every day of my childhood. I liked them best with whole wheat bread and just enough peanut butter and raspberry jam to keep them from oozing. Throughout my school years I brought my lunch with me and surprisingly I rarely packed it myself. My mom made peanut butter and jelly sandwiches with perfection, spreading the peanut butter on both sides of the bread to keep the jam from making the whole thing soggy. When my dad packed our lunches he always put a chunk of cheddar cheese on top of the sandwich which by lunchtime would become oily and leave a dent where it sunk into the bread. This didn't deter me from ripping the sandwich in half and thoroughly enjoying the combination of sturdy bread, salty sticky peanut butter and sweet raspberry jam.

I'm sure everyone has their own memories of peanut butter and jelly or other childhood lunches which by choice or default have embedded themselves into our memories and senses. Even if peanut butter and jelly sandwiches don't appeal, there are still lots of the wonderful ways to use raspberry jam if you have some in your cupboard.
raspberry jam

jam making

Raspberry Jam
I prefer not to use pectin which means that the jam I make is usually soft and spoonable. Sometimes it might be too soft, but it can be a wonderful sauce or addition to yogurt or ice cream.

6 pints fresh raspberries
3 cups sugar
1/4 cup lemon juice

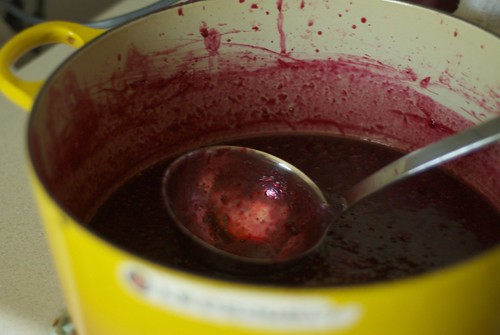
Combine the raspberries and sugar in a non-reactive pot (enameled cast iron or stainless steel both work for this). Let them sit for a few hours until they have become very juicy. Bring the pot to a boil and let simmer. Stir occasionally to make sure nothing is sticking to the bottom of the pot. Add the lemon juice and, if possible, skim off any foam that appears on top of the jam. Continue simmering for about 45 minutes. To test whether the jam is ready, put a small plate in the freezer. Put a spoonful of jam on the plate and return it to the freezer for a minute. If the jam holds its shape, it is ready. I don't worry too much about cooking it down to the perfect jam  but about 45 minutes of simmering should do the trick.

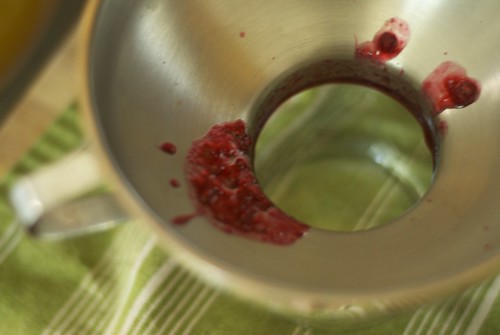
Meanwhile, wash 6 half pint jars and place them in your canning pot while the water heats up. When the jam is ready to can and the water is boiling in your canning pot, remove the jars. Fill each jar, leaving 1/4 inch head space. Remove air bubbles, wipe rims, and put on lids and bands. Process the jars in the water bath for 10 minutes. Remove and let cool completely. Check to make sure each jar has sealed before storing for up to one year.

August 21, 2012

Simple Pleasures

farmers' market haul 

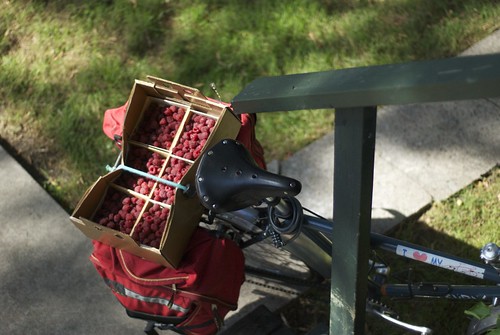
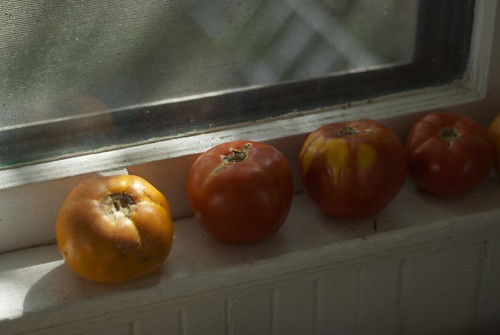
On Saturday morning, Ray and I rode our bikes down to the farmers' market. When I say down, I mean it is an easy coast of a couple miles downhill all the way. Since we had to carry everything all the way back up the hills on our bicycles I tried to restrain myself but I was eager to bring home lots of produce for preserving. Ray carried the box of tomatoes on his rear rack and I loaded my panniers with a jar of honey, cucumbers, tomatillos, zucchini and beets. Luckily the raspberries fit right on top. Unless it is raining or snowing hard, traveling by bicycle is nearly always more fun and satisfying than going by car. On a perfect summer day even uphill on a heavily loaded bike is wonderful and I am always glad for the reminder that I should be biking more.

summer saturday

tomatoes 

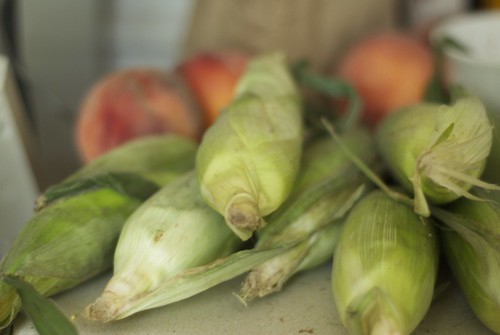
When I have the better part of a day to spend in the kitchen, I tend to do a lot of projects at once. I had a few vegetables to freeze, granola and hummus to make for the week, and I wanted to make something great for dinner. I come across so many intriguing and tempting recipes that I usually have ideas for meals well in advance but on Saturday I searched through most of my cookbooks and several websites without finding the perfect ways to cook corn, peaches, and raspberries. Luckily, summer the best time to keep it simple and enjoy the ripe fruits and vegetables without too much fuss, so we had corn on the cob.

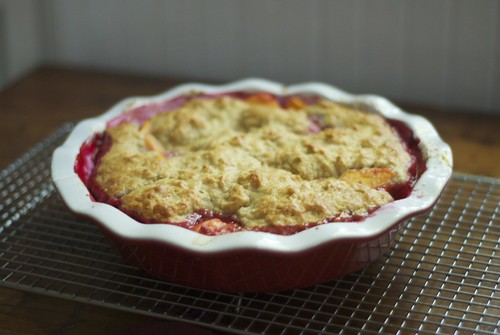
peach raspberry cobbler 

With the fruit I was hoping for elegance and something special but ended up making a cobbler that took no more than 15 minutes to put together. While it was unfussy and easy to make, the sweet and tart flavors of the baked peaches and raspberries mingled into a gorgeous base for the sweet, light biscuit dough. It was just the right ending to a day of beautifully simple pleasures. 

Raspberry Peach Cobbler
Adapted from the Moosewood Restaurant Celebrates cookbook. You can easily substitute other summer berries or fruit here. 

Fruit Filling
4 large peaches
1 pint fresh raspberries
2/3 cup sugar
1 teaspoon lemon juice
3 tablespoons flour

Biscuit Topping
1 cup flour
2 tablespoons sugar
1 teaspoon baking powder
1/4 teaspoon baking soda
1/4 teaspoon salt
1/4 cup butter
1/3 cup buttermilk (or 1/3 cup milk with 1/2 teaspoon vinegar)
1 egg
1/2 teaspoon vanilla

Preheat the oven to 400' Peel and pit the peaches and thinly slice them. In a pie plate or a 9-inch square baking dish, combine the sliced peaches, raspberries, sugar, lemon juice and flour. Mix together until everything is evenly distributed.

In a bowl, stir together the flour, sugar, baking powder, baking soda and salt. Cut the butter into small pieces and using your hands, a pastry blender, or knife cut the butter into the flour until it resembles a coarse meal with a few larger chunks. In a measuring cup, beat together the buttermilk, egg and vanilla. Pour this into the flour and butter and stir to create a soft dough. Spoon the dough onto the top of the fruit in evenly spaced spoonfuls. Bake for 20-25 minutes or until a tester inserted into the center comes out clean. Serve warm, especially with vanilla ice cream.