
Now that I have finished my big spring cleaning, I am glad to report that the weather has caught up with my spring mind set. The sunny days, budding trees and warmer temperatures are reinforcing my need to embrace and incorporate new things into my days but also reminding me that I need to get back into healthy routines. Now that the kitchen is spruced up and my apron is freshly washed, I'm ready to keep up routines as incorporate new ones.
I enjoy my kitchen routines. I make yogurt every week or so, I feed my sourdough starter daily and bake bread weekly, and I frequently make batches of hummus, almond butter and granola. Having staple foods that I make from scratch helps me to feel connected to my home and my food. With both newness and routine in mind, I finally got around to making clarified butter. It could not be simpler to make and is not only useful for cooking but also more healthful to use than many oils.
Clarified butter is ideal for high heat cooking. In a process slightly more time consuming than melting butter, you remove the milk solids which give regular butter a very low smoke point. The smoke point of an oil is the point at which it begins to break down and loses its flavor and nutritional value. Different oils have different smoke points and the oil isn't healthy to cook with at temperature above its smoke point.
Although you can find oils from all kinds of nuts, seeds and olives with different smoke points, most of them are grown and processed far away. I like using olive oil, almond oil, coconut oil and others for their flavor and different purposes but it is nice to find a cooking oil that doesn't come from an exotic location. Locally produced butter is easily transformed into something you can use for cooking pancakes, sauteeing vegetables, and browning veggie burgers and fritters in a cast iron pan.
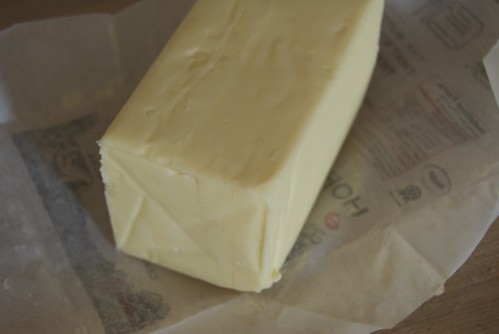
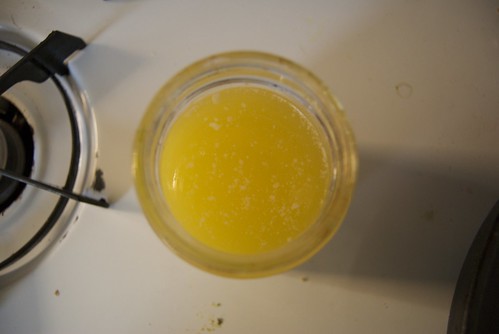
I had read about clarified butter in Heidi Swanson's Super Natural Cooking a while ago, but I just putting off making some of my own. She recommends using it for a lot of the recipes in her book and I tend to use it for whatever I am cooking in my cast iron skillet. Simply melt a pound of butter in a sauce pan. Keep the heat low so it melts slowly. When the block of butter has become a golden liquid, turn off the heat (cooking it longer, until the milk solids begin to brown will make ghee, a version with a deeper, nuttier flavor, often used in Indian cooking). Skim off any foam that has formed on top and discard it. Carefully pour the bright yellow melted butter into a pint sized jar. When you have poured off nearly all of the liquid butter, you will see the cloudy white milk solids in the bottom. Pour out as much of the bright yellow part as you can without getting any of the milk solids. Discard the milk solids.
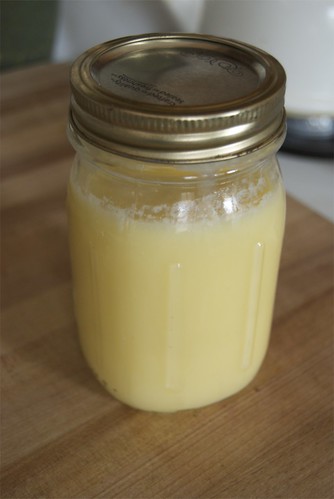
The clarified butter will be a gorgeous, soft yellow when it solidifies. Store it in at room temperature for up to a month or keep it refrigerated for even longer.
No comments:
Post a Comment