
I've been wanting to make a worm bin for a year or so. Being an avid eater of vegetables and whole foods, and thus a producer of vegetable scraps I needed a place to recycle them. Although some of my upstairs neighbors simply drop their scraps out the window into the alley behind our building, I have been hoping to do something more productive with some of my food waste. Its taken me a while to finally make a worm bin, but thanks to my friends Jen and Dani who gave me the gift of worms for a wedding shower present back in the spring, I finally got to have a bin of my own.
I'm a little behind the times. I mean, the New York Times had an article on worm bins in the city a while ago, but despite that it took me some time to get around to building a bin. I was a little intimidated by the bin itself -- what if I messed it up or didn't provide an adequate home for the busy little wigglers? Well, it turns out to be really easy and worth while. Our bin is small, so the worms can't handle all of the veggie scraps we have, but its a good start.
In case you aren't familiar with worm bins -- it is a simple way of turning food waste into rich dark worm castings which are great for adding to soil for healthy plants. With some help from Worm Mainea, I made a simple home for the worms where they can munch on the mold and fungi that break down the food. To make a worm bin, you just need a few simple materials. You can use a wooden box, but it was easier for me to obtain a plastic storage tub which would fit under my kitchen sink.
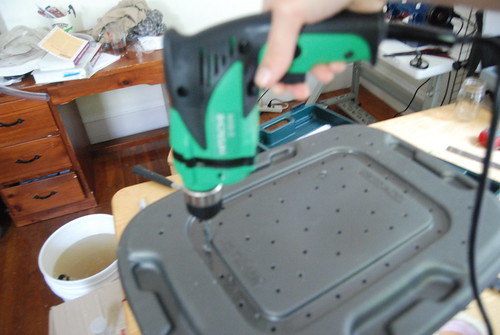
I drilled holes in the top to let in air. You can cover the holes with a screen to keep fruit flies out. I also added a drainage hole at the bottom in case there is too much liquid in the bin which is just closed with a cork and some masking tape. If the bin needs draining, this will do the trick.
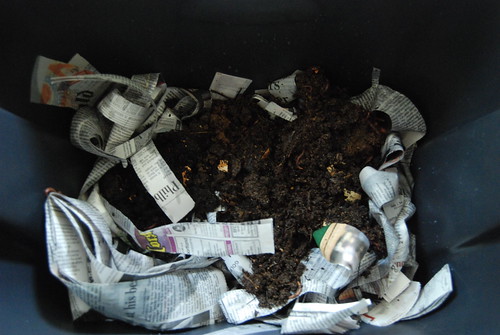
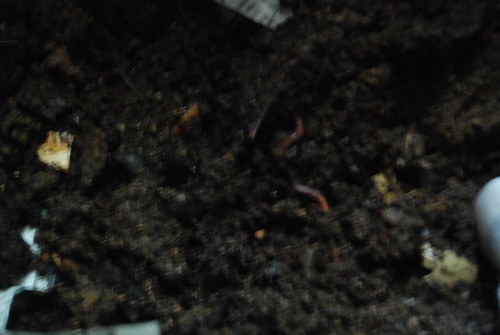
To make bedding for the worms, rip up newspaper into long thin strips and dampen it with water so that it is moist but not wet. The worms are red wigglers, not earth worms, so you will need to order them from a supplier or get them from someone who has an excess of worms in their bin (over time the number of worms in the bin will increase). I put the worms on top of the newspaper and then put more shredded damp paper on top of them.
Worms like: coffee grounds and filters, vegetable and fruit scraps, paper and cardboard, breads and grains, tea leaves and bags (no metal staples, though), and egg shells. Worms do not like: meat, fish, bones, dairy, grease, vegetable oil, pet waste, dirt from outside, salt. The worms can only keep up with half the weight of the worms per week. I started with a pound of worms, so they can take about a half pound of "worm food." I usually check on them every week or so to see if the other food has broken down yet. Each time I add food, I put it in a different corner, under the top layer of bedding. More newspaper bedding should be added as the bedding breaks down. Following these guidelines will keep the environment in your bin well balanced and smelling good. So far, my little pets seem healthy and happy (well, I don't know about that) and they are taking care of some of my food scraps each week. Eventually there will be enough worm castings to remove some of the castings and use them to fertilize plants. It will take some time, but its nice to have this recycling system under my kitchen sink.
Congrats on the bin! We started up a little over a month ago and really like the idea. Have had a few trial and errors, since our bin is outside the heat has caused a few problems. GOOD LUCK!
ReplyDelete