Showing posts with label tiny project. Show all posts
September 3, 2015
Tiny Project #5: Felt Balls
We have an assortment of blocks, puzzles, cars, musical instruments and other toys for Amos, but most often he plays with household items. A spray bottle filled with water for squirting and misting outside, a potato masher and kitchen tongs for carrying random things around the living room, and a bicycle pump which he uses to "pump" wheels, tires, and pillows. He raids our kitchen drawers and cupboards for his favorite pots, bowls, and utensils and it is fun to see the creative ways he turns things into toys.
I've made Amos a few things to play with over the last couple of years, mostly soft and throw-able. Stuffed cloth blocks, bean bags, and now felt balls. Soft things that can be rolled, tossed, gathered, and occasionally thrown are nice to have available for all kinds of play, but especially when you can say if you want to throw something, you can throw this.
Instead of seeking out wool roving, I realized that I could make balls from the scrap wool that had been hibernating in my knitting basket for years. Most of the yarn wasn't a color or weight that I really liked so I gave it new life with this project. I love being able to transform unwanted materials into something that is actually enjoyable. As long as it is wool, you can use scraps, tangles, or any kind of yarn.
These felt balls don't take a long time or any excess water and soap. Wrap or scrunch your yarn into balls and use an old stocking or pair of tights to hold them in balls shapes. Toss them in with your load of laundry and you will soon have a new, soft, throw-able toy. Soft, colorful and cozy, they can also be used for cat toys, dryer balls, juggling, or playing catch indoors making them completely not essential, but still quite fun.
Felted Balls
Materials:
100% wool yarn
A jingle bell if you want your ball to rattle
A pair of stockings or nylon tights
Cut the legs off the tights so you two have long tubes.
Roll the yarn into a tight ball using a single color or many colors together (if you are using a bell, start rolling the yarn around it so it is hidden in the middle of the ball). If you have a very tangled ball of yarn, like I did, you can scrunch it into a ball shape and wrap some more yarn around it to keep it that way. Once your ball has reached the desired size (it will shrink a bit when felted) stuff it into one of the legs of the tights. Tie both ends to keep the yarn in a tight ball.
Continue making yarn balls until you have as many balls as you wish or you have filled both stocking legs. The next time you do a load of laundry with HOT water, put the yarn filled stockings in with your dirty clothes. Transfer them, along with your clothes, into the dryer to dry.
Once they have been washed and dried, remove them from the stockings. Depending on the type of yarn you use it may just look like a very tightly rolled ball of yarn or it make be hard to tell that it started out as a long strand. Some yarn doesn't felt together easily so you may need to repeat the process to get all of the strands to stick together in a ball.
April 23, 2015
Tint Project #4: Make Envelopes
On one of those elusive spring days when the air has no chill, I started thinking about sunscreen, popsicles, and sand toys. We've been walking to the beach most days to watch dogs run with joyful intensity, to play on the playground and dig in the sand. Tools and toys for digging certainly are not a requirement but I realized that the beat up sieve, big red spoon, and empty ice cube tray that Amos often uses in the kitchen would also be perfect for the beach. We found a stainless steel bucket at Goodwill, just right for a two year old to collect water and make sand cakes. I love being able to come up with creative ideas for reusing what we already have and making better use of things that might go to waste.
When we're not at the beach (or the playground, or the library) we sometimes paint. Amos mostly likes dipping the brush in water and brushing the water onto the paper. I like to saturate the brush in a bright color to and swirl it into random abstract designs. Since we go through paper fairly quickly, I wanted to find a way to use it again. Cutting and gluing the paper into envelopes is a way to give another life to a piece of paper that might not have much use otherwise. Sending it to someone with an in depth letter or a quick note tucked inside gives it a third chance to be useful and meaningful.
I have made envelopes from all kinds of paper including paper bags, magazine or catalog pages, and art work. I have used tape and a variety of glues to stick them together. This time I wanted to put them together with something non-toxic that could biodegrade along with the paper when the envelope was no longer necessary. Instructions for the envelopes and glue are below.
I used large sheets of paper and cut each in half. One half became the envelope, the other half I cut and folded into two cards. I cut the envelope paper into the shape shown above. You can make an equally simple envelope without cutting the paper but I like this basic shape which leaves plenty of room inside.
After cutting, I folded the side flaps in, the bottom up, and the top down.
Brush some glue on the side flaps and fold up the bottom. Press the bottom to the side flaps to make sure the glue has sealed. You can use glue to seal the envelope once you have tucked your letter inside.
Envelope Glue
This glue seems to work really well and it uses ingredients you probably have in your pantry. I wish I had thought to cut the recipe in half because I have way too much glue now but it is easy and cheap. I store it in the fridge. Just shake it before using if it has been sitting for a while, it may separate. Recipe adapted from this one.
1 cup flour
1/3 cup sugar
1 1/2 cups water
1 teaspoon vinegar
Combine the flour and sugar in a saucepan. Add about half of the water and whisk until smooth. Add the rest of the water and the vinegar. Bring to a simmer and whisk until it has thickened slightly. Use when cooled. Store in an airtight container.
November 10, 2014
Tiny Project #3
We walked into the kitchen and I dropped the grocery bag on the chair. Amos wasted no time in exploring the contents of the canvas bag. He pulled out a plastic bag full of unpopped kernels of corn and lost interest in anything else that we had brought home. He dropped the bag on the floor, delighted by the sharp sound as it hit the tiles. Sliding his feet back and forth as he stepped on the bag, he explored the texture of hard kernels under his feet. He picked it up, carried it around, dropping it, squeezing it.
It was a relief to me that this bag of popcorn could keep him occupied for so long. It crossed my mind that the bag would probably, eventually break but after a whiney, difficult, tired morning I didn't care as long as he played happily while I did some of the things I needed to do. While we both continued our activity, I waited for the inevitable scattering of seeds across the floor. With this barely a worry in the back of my mind, I thought of bean bags. If Amos could enjoy a plastic bag of kernels so much, maybe he would like something he could play with all the time. Instead of waiting until sometime later to make the bean bags, why not now?
I grabbed a jar of old popcorn which no longer popped into the fluffy, crunchy treat I can always eat by the handful. The old kernels could go to better use as bean, er corn, bags. It took no more than 10 minutes to stitch the squares together, to carefully fill them with popcorn, and to bind the open edge shut. I tossed each one on the floor behind me and they landed with a satisfying smack. Amos might be more drawn to something out of the grocery bag or cupboard, but this homemade toy has so much more potential. Bean bags are great for throwing when wooden blocks and other hard things are not. They fit into cups and bowls instead of water which is best left in the bathtub. They have a wonderful weight for tossing and catching over and over again. They are the easiest thing to sew and they don't have to be square or even as long as as they are stitched tightly so none of the kernels or beans can escape.
If you don't have a small child, an interest in juggling, or an urge to play lawn games, you can also make a very nice eye pillow by cutting a rectangle instead of a square. If you use rice or flax seeds then you can warm the pillow in the microwave for relaxing treat. Perhaps while your child amuses himself with beanbags?
Materials:
Cotton fabric
Popcorn kernels, small dry beans, or uncooked rice to fill the bags
Cut two squares of cotton fabric. 4 inches by 4 inches (or a bit larger) is a good bean bag size. For an eye pillow you could cut two 9 by 4 inch rectangles.
Line up the squares with the right sides (printed sides) together. Stitch around 3 sides of the square, about a half inch in from the edge of the fabric (this is the seam allowance). Turn out the square so that the right sides of the fabric are facing out. Pour in enough corn kernels, beans or whatever you are using to fill it about half way.
This part can be a bit tricky. Taking care to keep all of the beans inside, fold the raw open edges down about a half inch toward the inside of the bean bag. Pin or hold the folded sides together and stitch them shut.
Toss the bean bag toward any interested person. Make another if you want.
P.S. Tiny projects #1 + #2
May 30, 2014
Tiny Project #2: Make it Your Own
With the arrival of summer weather I decided that Amos and I both needed some t-shirts that we could wear every day. I am not about to sew a t-shirt myself, but I was excited about the idea of adding my own designs to some soft, durable shirts. There are many, many ways to do this, but applique is my method of choice.
This little project is a great way to refresh shirts that you might not love any more, or to embellish new-to-you t-shirts. So far, I have made three for Amos and one for myself. If you are nervous about ruining a shirt that you love, try appliqueing on a shirt you don't really like, on a test piece of fabric, or on a shirt for a little one who will soon have it covered in blueberry or watermelon juice (so it doesn't matter if it isn't perfect).
I used quilting cotton and jersey cotton and was happy with both results. The appliqued design will first be attached to the shirt with fuseable interfacing which helps keep the stitching strong and gives you a little freedom to play with the stitch that you use. If you are using quilting cotton a zig-zag stitch around the edges will keep them from fraying. You can zig-zag or straight stitch depending on which you prefer and if you don't mind a slightly frayed edge. You can also sew into the middle of the applique fabric to add texture and pattern (as in the feather, above) Simpler shapes and fewer fabrics will work better if you are a beginner, but try whatever you like.
Materials:
A t-shirt or other fabric
fusible interfacing (available at fabric stores)
cotton fabric for the applique design
thread, pins, an iron and a sewing machine
Begin by choosing a design or image you want to create in fabric. You can draw it first or just start cutting the fabric.
Once you have your design, cut it out of fabric and out of the interfacing. I cut my fabric image then lightly ironed it to the interfacing and cut the interfacing to match the fabric.
Choose where you will place the applique on the shirt. The interfacing should in between the shirt and the cotton fabric. Iron all three layers to fuse them together. They will be fused together lightly so you may want to pin the applique in place before you sew it just to make sure it doesn't shift at all.
For stitching the design you have many options. You can choose a zig-zag stitch on your machine and go all the way around the edges of the applique fabric. You can go around the edges with a straight stitch (quilting cotton fabric will fray on the outside of the stitching). You can use a straight stitch to create pattern and texture within the fabric and help secure the fabric more sturdily to the shirt.
Since t-shirt fabric can be stretchy and slippery, it is easiest to keep your stitching on top of the applique design. You can add stitches on the t-shirt itself, as I did with the chicken's legs, if you want.
I am excited to share these tiny projects with you. If you have any questions or my directions are unclear, please ask!
May 16, 2014
Tiny Project #1

Its a good thing I love fabric because we have an abundance of cloth in our home. Aside from the patterned yards waiting to be cut and sewn into pants or bibs or aprons, most of the cloth is less refined and heavily used. Dish towels for drying hands and dishes, wiping spills and tables, counters, and high chairs are in constant rotation in the kitchen. We use cloth napkins at meals and cloth diapers and wipes for Amos. I've retired the burp cloths but it seems like I am constantly reaching for something to clean Amos' hands or wipe his mouth after meals.
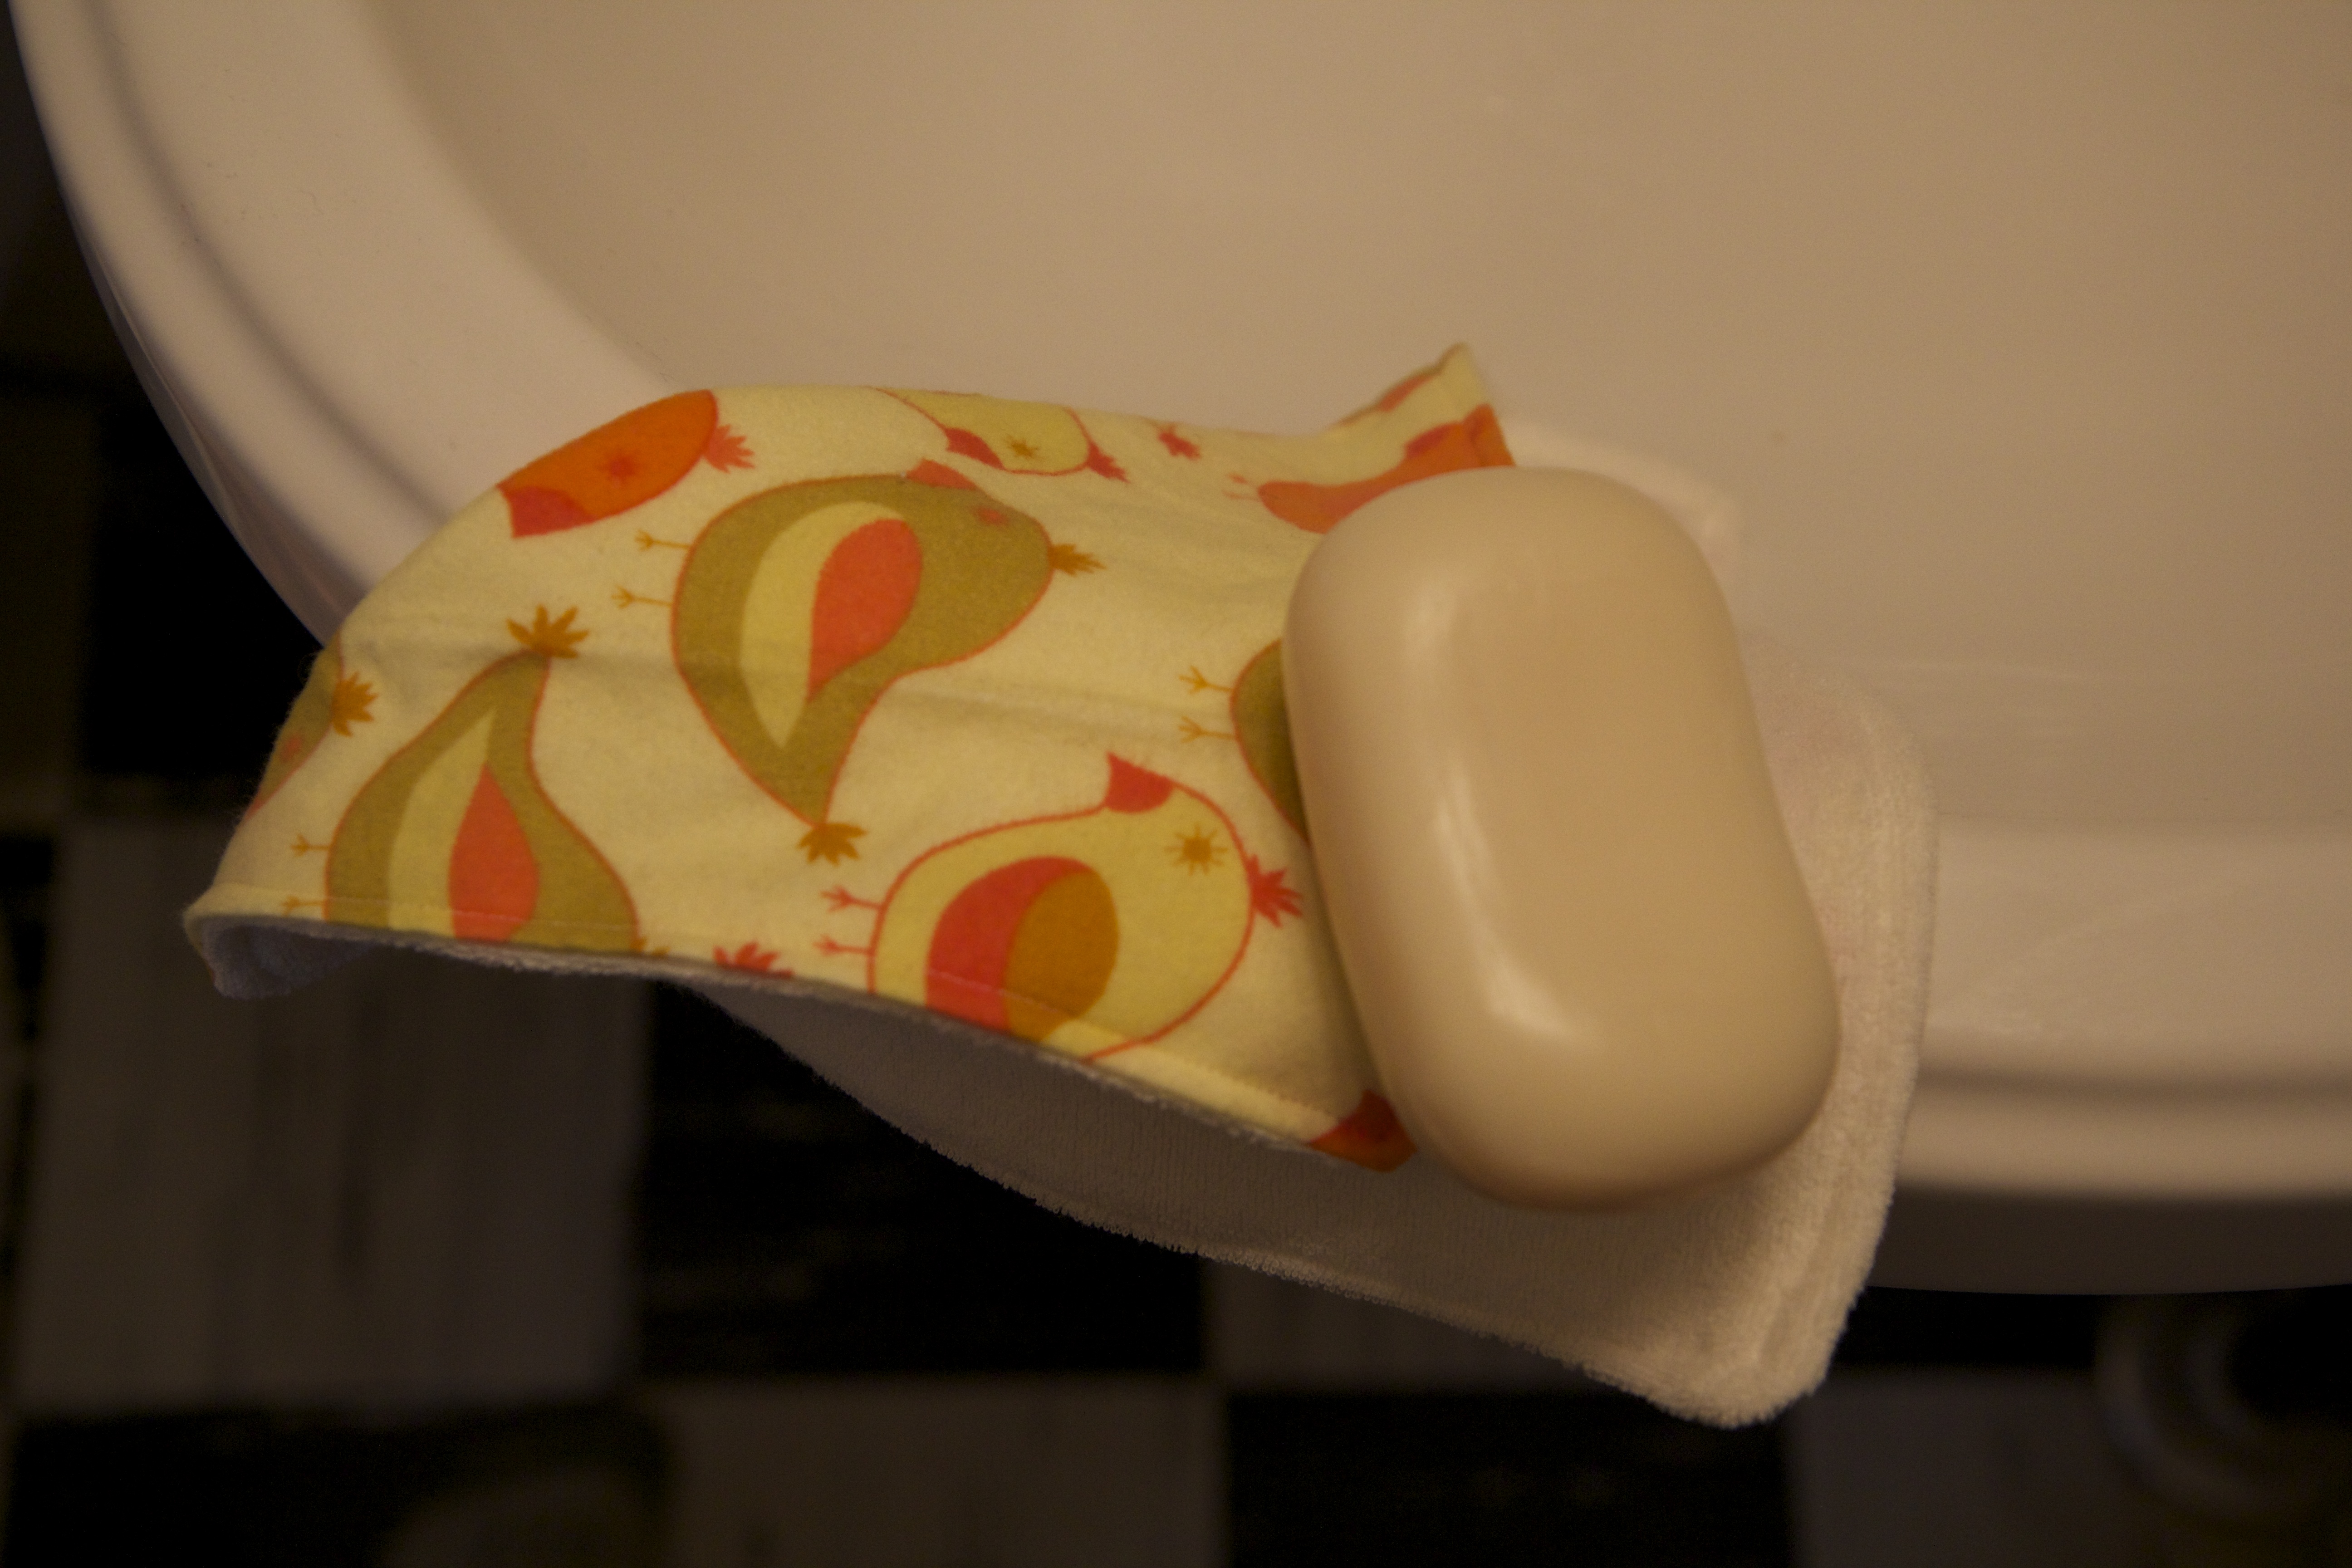
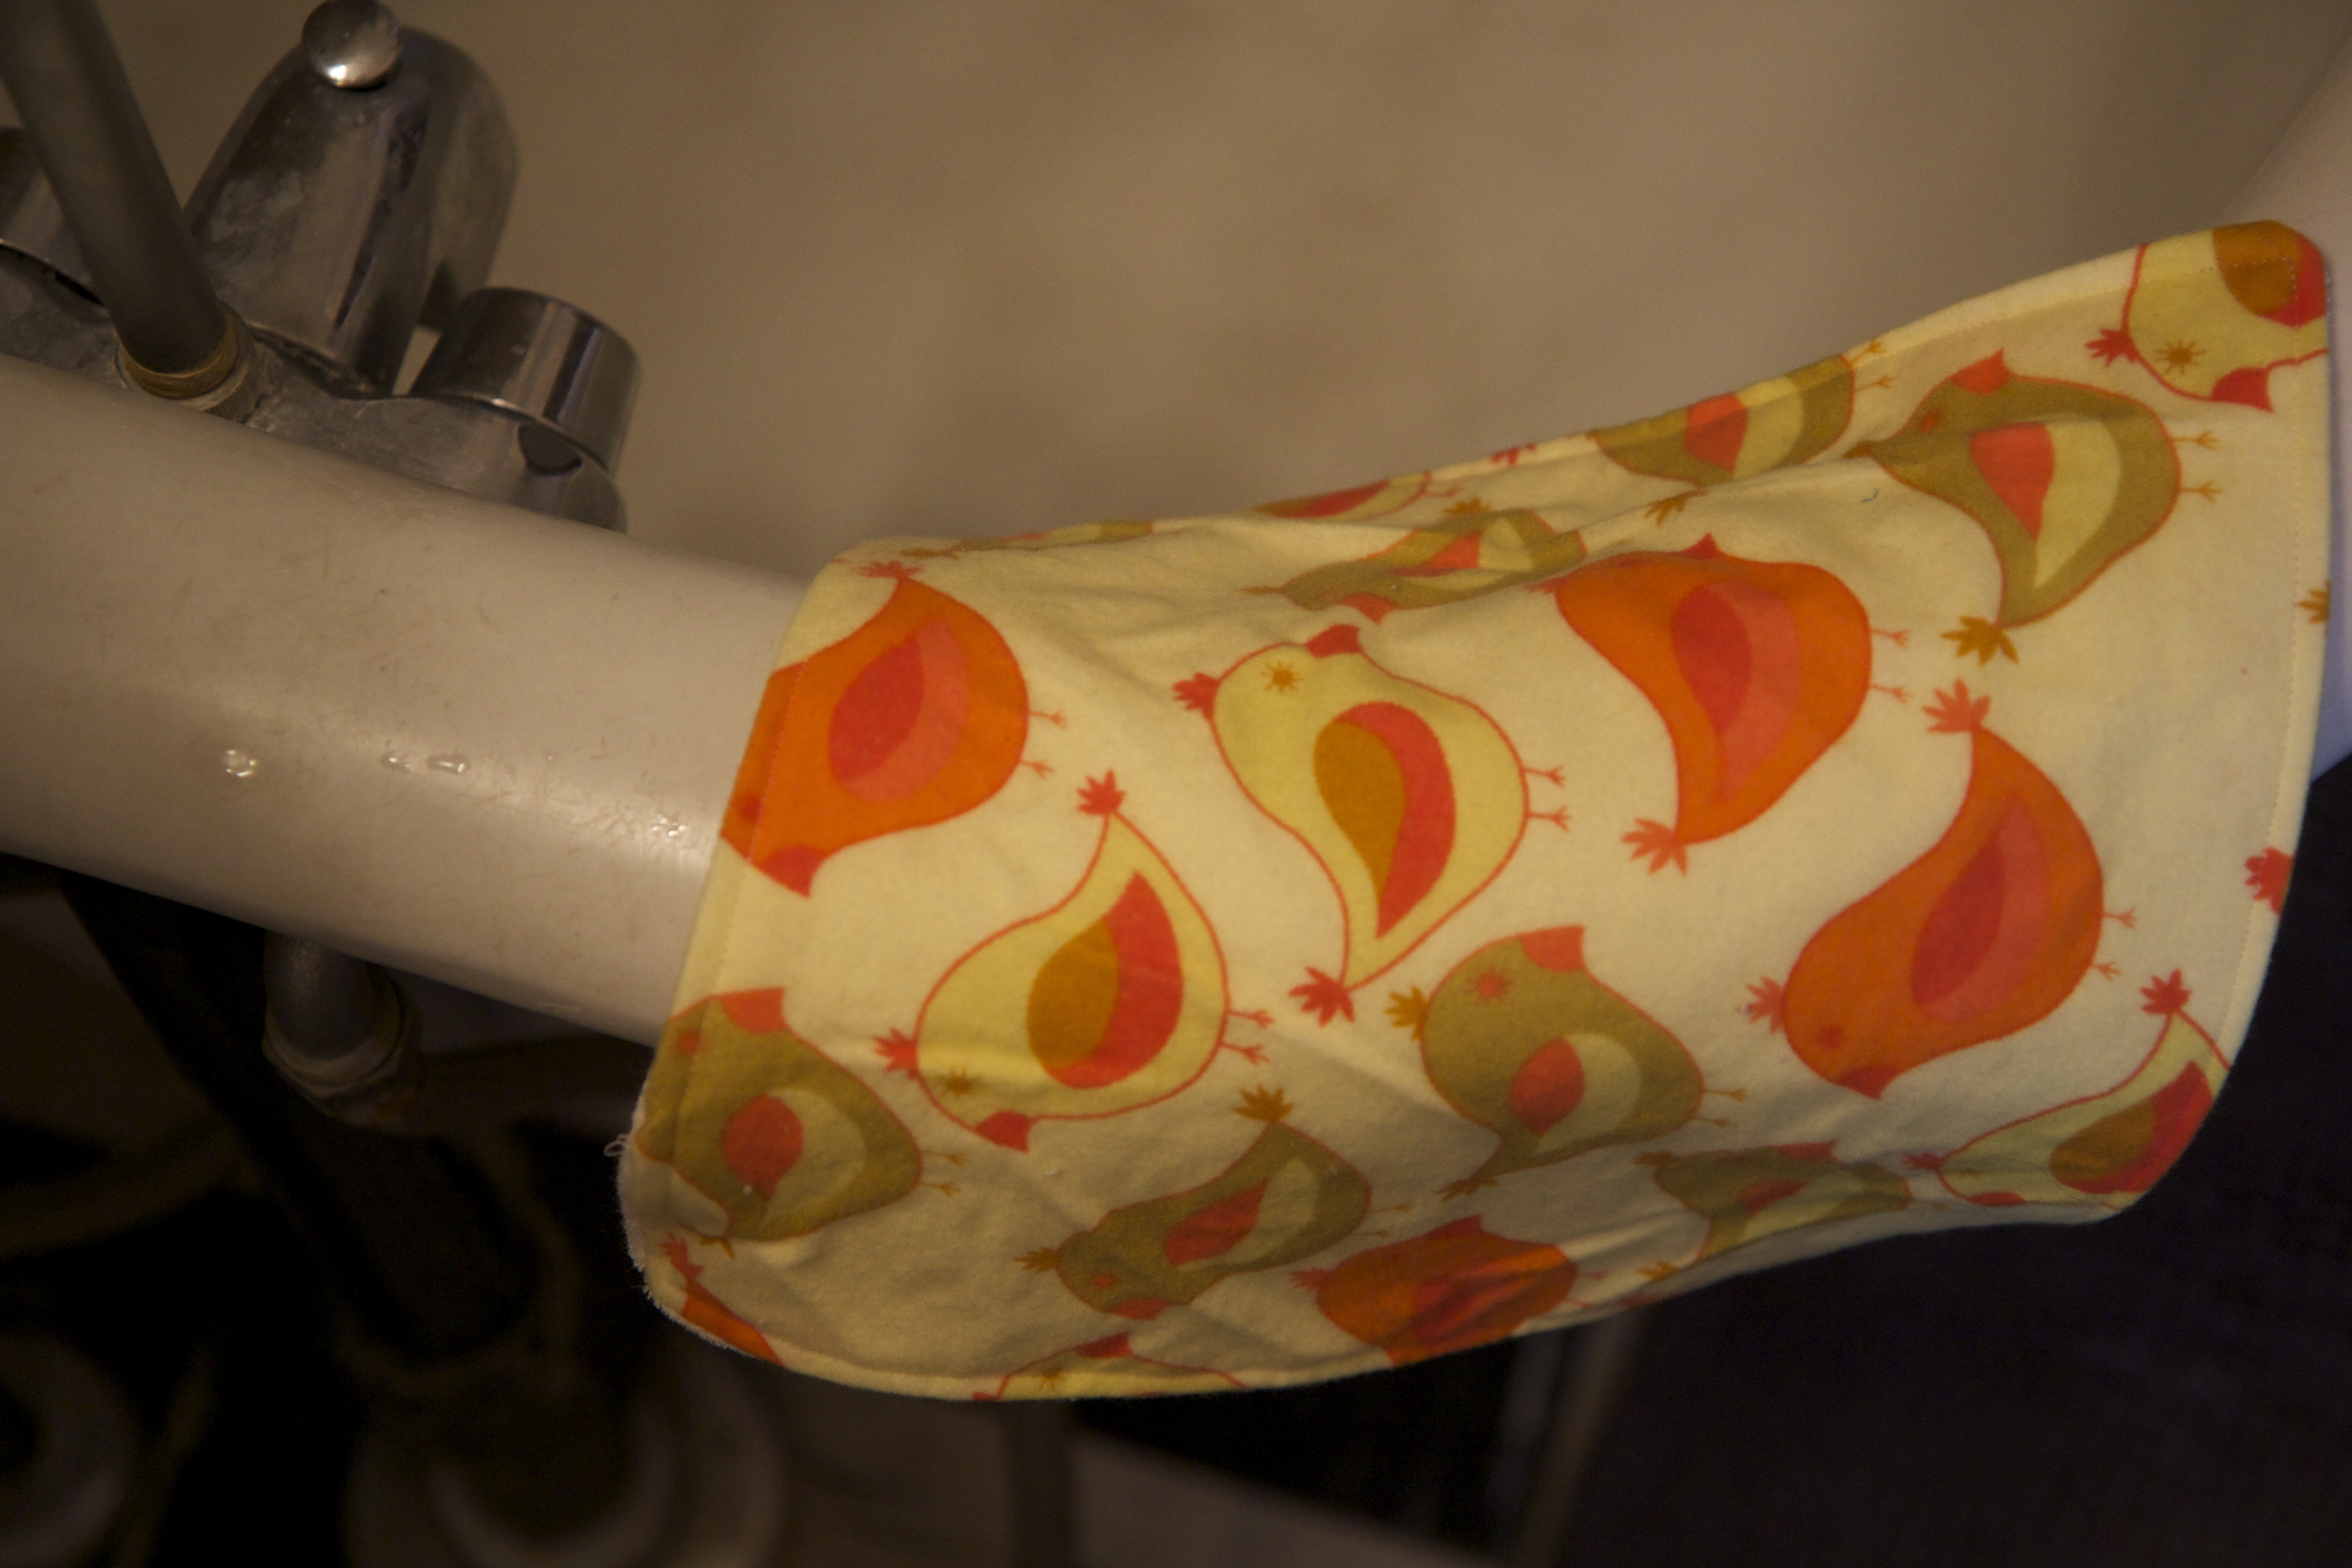
Visions of laundry piles aside, I am happy to rely on all of these different fabrics for use and constant reuse in our home. Most of the time they get the job done while also pleasing my senses with their colors, textures and general usefulness. One shortage I have discovered lately, though, is washcloths. I sometimes use them as the first step of cleaning Amos after a meal but we also need them for scrubbing him in the bath. I decided to make a few new ones and wanted to share them with you as an easy beginner sewing project and a quick way to make something useful and pretty for your home.
It may not seem like the greatest necessity and it probably isn't hard to find inexpensive and durable washcloths at a lot of stores. But, here is a chance to shift from buying to making and you can probably use things you already have at home. The only sewing skills you need are the ability to cut fabric with scissors and to sew a straight (or mostly straight) line.
Materials:
Terry cloth -- I used this fabric which I bought last year to make some baby towels, it is very thin and easy to sew. You could use an old towel but if it is too thick it can be difficult to sew through on a regular sewing machine
Cotton fabric such as flannel or a basic quilting-type cotton -- Sewing this to the terry cloth means you will have no frayed edges and it makes the washcloth sturdier if you are using a thin terry. I like using flannel but you could also choose fabrics that match your towels or fit with your bathroom colors. I made a couple of washcloths with colors that I just liked.
Cut one 10 by 10 inch square (or any size/shape that you like) of terry cloth. Place the cut terry cloth on top of your cotton fabric and cut a piece the exact same size and shape. Put the fabric together with the patterned side of the cotton fabric facing the fuzzy side of the terry cloth (if the terry cloth is fuzzy on both sides it doesn't matter which side is in but you want the sides of the fabric that will eventually be the outside of the washcloth to be facing each other with the wrong sides facing out)
Pin the fabric together or simply hold it in place. With the cotton fabric on top, stitch around the edges of the cloth, sewing them together and leaving a 2 inch unstitched hole. Having the cotton fabric on top makes it easier to stitch if the terry cloth is stretchy.
Turn the washcloth inside out so that the fuzzy terry cloth and cotton pattern are now on the outside. Make sure to poke the corners a little so that the washcloth is square. Now, stitch around the washcloth again, about 1/4 inch from the edge, making sure to tuck in the edges around the hole so that it is closed neatly.
Now you have a washcloth!
Subscribe to:
Posts (Atom)