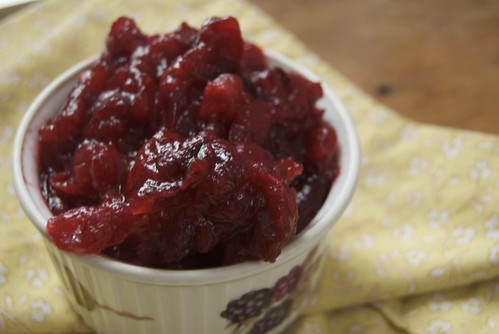
November tastes of cinnamon and spices, hearty roots baked creamy, soup full of leeks. In my mind, November is the color of fallen oak leaves while December is the deep green of a hemlock bough. The autumnal spiced cakes and breads, the rustic pies of November will soon give way to chocolate and peppermint, delicately crunchy cookies and the flavors of Christmas. I still have six butternut, one spaghetti and a few acorn squash in my cupboard and I'll be eating squash well into next year. But in December, my focus turns away from fall recipes to make room for the season of sparkly lights, hot cocoa, and plates of cookies.
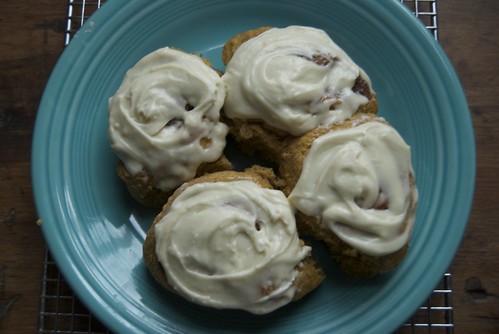
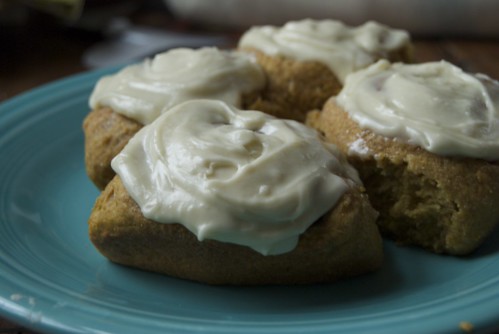
If I'm to hold true to these seasonal prejudices, then today is not too late to share one more squash flavored recipe. While I get caught up in recipes and meals that are seasonally appropriate, I really like the idea of recipes that show up once or twice a year for a certain, special occasion. In our household, which consists of me and Ray, we don't yet have many traditions but I wouldn't mind making these pumpkin spice rolls into one. They could easily be part of any old breakfast, but I want them to be a special treat.
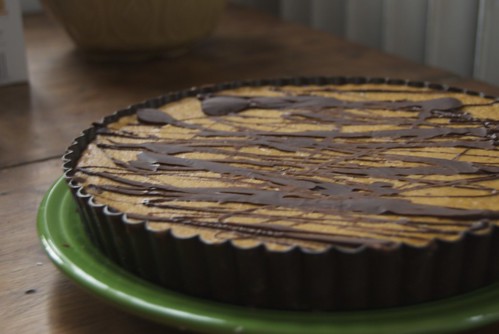
I dreamed up this combination after I made a pumpkin cake to take to our friends' house. I made too much cream cheese frosting and had left over baked squash as well. I haven't iced a cinnamon roll since I was just tall enough to reach the toaster oven and pull out the Pillsbury version, but somehow I decided that was how the icing should be used. Not for those perfectly round rolls that popped out of the can with their plastic cup of icing, but for rolls filled with pumpkin and flavored with pumpkin spice.
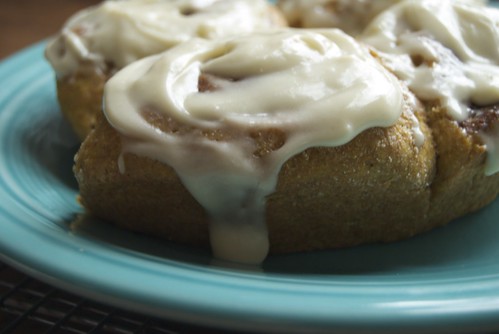
Pumpkin Spice Rolls
I adapted this recipe to make these rolls. The dough has pumpkin in it and instead of cinnamon, I made a blend of pumpkin pie spices to fill the roll. You do not have to make this recipe all at once. I have included various stages when you can refrigerate the dough and use it later.
1/4 cup lukewarm water
2 teaspoons yeast
3 tablespoons sugar
1 1/4 teaspoons salt
1 cup pumpkin or squash puree
1/4 cup plain yogurt
1 egg
3 tablespoons unsalted butter, melted
1 3/4 cups (7 ounces) whole wheat flour
1 1/4 cup (5 ounces) white flour
2 tablespoons butter, at room temperature
3 tablespoons sugar
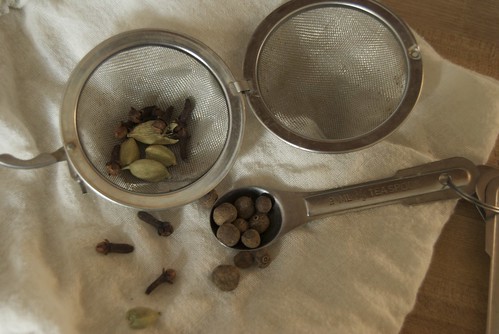
1/2 teaspoon cinnamon
1/2 teaspoon ground ginger
1/4 teaspoon nutmeg
1/4 teaspoon allspice
1/8 teaspoon cloves
Place the water and yeast in a medium bowl and let stand for a few minutes to dissolve. Whisk in the sugar, salt, pumpkin, yogurt, egg and melted butter. Add the flour, 1/2 a cup at a time, using your hands to knead it when it is to thick to stir. Knead the dough until it is smooth and all the flour is incorporated. It will be sticky and somewhat soft. Let the dough rise, covered, in the bowl for about an hour. At this point you can cover the bowl so it is airtight and leave it in the fridge for up to 4 days.
When you are ready to assemble the rolls, butter the bottom of a 9-inch round pan. Spread the dough out on a lightly floured surface. Doing this on parchment, plastic wrap or a silpat will make it much easier to roll the dough up. The dough should be spread or rolled into a rectangle about 9 by 12 inches. Spread the softened butter over the surface of the dough. Mix the sugar and spices together and sprinkle that evenly over the buttered surface. Begin rolling up the dough at the long edge, using the parchment (or whatever you have) underneath to help roll the dough into a long rolled up log. Pinch the open end of the roll to the rest of the log. Carefully cut the log into 7-10 equal slices and place each slice spiral up in the round pan. Cover and let rise for 1 hour.
Now you can cover the rolls and refrigerate them overnight, or continue baking.
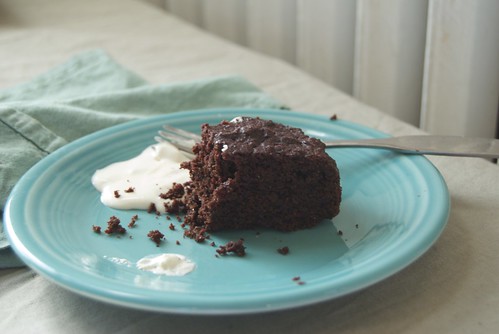
Preheat the oven to 350. Bake the rolls for 25-30 minutes or until they are lightly browned on the edges. They will feel solid on top, but slightly soft underneath and a fork poked in them will come out clean. Let them cool in the pan for about 15 minutes, then remove and frost, if desired.
Cream Cheese Frosting
3 tablespoons unsalted butter, at room temperature4 ounces cream cheese, at room temperature 1 teaspoon vanilla extract 1 1/2 cups confectioners' sugar1 to 2 tablespoons milk, if needed, to make the frosting spreadable
Combine the butter, cream cheese and vanilla in a medium bowl and beat them together until they are light and fluffy. Add the sugar gradually, beating well. Add the milk a little at a time until the frosting is spreadable.